Indruction
Mastering the Bajaj Discover Kick Spring Installation: A Comprehensive Step-by-Step Guide
Ever had that moment when your Bajaj Discover won't kick start right? The lever sticks or feels weak, leaving you late for work. As one of India's top commuter bikes, the Bajaj Discover keeps millions on the road daily. But its kick spring assembly plays a key role in smooth starts. This coiled part pulls the lever back after each push and links to the starter clutch. When it wears out, starts get frustrating. You might hear grinding or feel no snap back. This guide walks you through installing a new Bajaj Discover kick spring step by step. We'll cover safety, tools, and tips to avoid mistakes. Get it right, and your bike runs like new for years.
Section 1: Pre-Installation Essentials and Safety Protocols
Before you touch a wrench, gather what you need. Proper prep keeps things safe and smooth. Skipping this can lead to slips or bike damage.
Essential Tools and Replacement Components Checklist
You'll want a basic socket set for those engine bolts. Grab wrenches in 10mm and 12mm sizes—they fit the Discover's casing nuts best. Circlip pliers help with retaining rings on the spindle. Add snap ring pliers and an expander for old parts. Penetrating oil loosens stuck bits, and thick gloves protect your hands from sharp edges.
Don't skimp on the kick spring. Pick genuine Bajaj parts or solid aftermarket ones. Cheap springs break fast and lose tension quick. Check for the right size—most Discover models use a 1.2mm wire diameter spring. Have extra washers or clips ready if yours look worn.
- Socket set (8-14mm)
- Adjustable wrench
- Pliers set for clips
- Clean rags and grease
- Torque wrench for final bolts
This list covers 90% of jobs. If your model varies, peek at the manual first.
Safety First: Engine Shutdown and Preparation
Turn off the bike and let it cool. Hot engines burn skin easy. Disconnect the battery cables to avoid sparks—most Discovers have easy clips under the seat.
Prop the bike on its center stand. It stays steady and gives good access to the right side. For some variants, like the older 125cc, you might drain oil if removing the full crankcase cover. Twist the drain plug and catch the oil in a pan. Wipe up spills right away.
Pro tip: Spray penetrating oil on bolts around the kick spindle cover a day ahead. It fights rust and cuts shear risk by half. Wear old clothes too—grease stains everything.
Section 2: Removing the Old Kick Starter Assembly
Now dive into the engine. Take your time here. Rushing leads to bent parts or lost springs.
Locating and Accessing the Kick Spindle Cover
Find the kick mechanism on the right engine side, near the footpeg. It's a round or oval cover plate with 4-6 bolts. This houses the spindle and spring.
Loosen bolts in a cross pattern—top left, bottom right, then others. Use a 10mm socket. They might stick, so wiggle gentle. Pull the cover off slow. If it fights, tap with a rubber mallet.
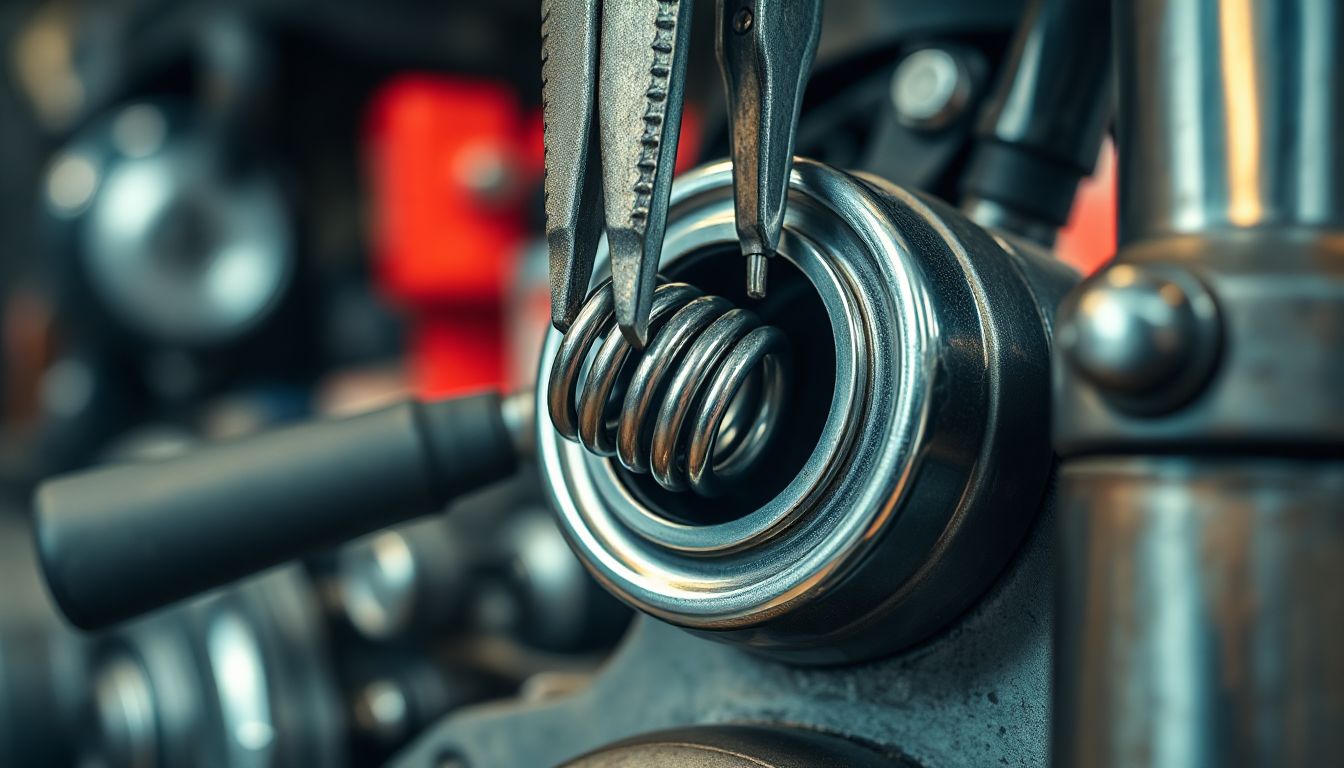
Inside, you see the spindle shaft and coiled spring. Note how it sits before you pull anything. A photo helps if you forget later.
Careful Extraction of the Old Spindle and Spring
The old spring holds tension, so it can snap out. Hold the spindle firm with pliers. Use circlip pliers to remove any end ring. Slide the spindle out bit by bit, unwinding the spring as you go.
Watch the spring's hook ends—one fits the housing notch, the other the spindle tab. Old springs often rust or stretch, causing weak kicks. Check the spindle for grooves or bends. If scored deep, replace it too—costs less than engine fixes.
Many riders mess up here by yanking hard. That twists the housing. Go slow, and wear eye protection.
Cleaning and Inspecting the Housing Bore
Wipe the bore clean with rags. Old grease traps dirt, which grinds new parts. Use brake cleaner spray for stuck gunk. Let it dry full.
Inspect the bore walls for cracks or wear. Smooth is good; rough means polish light with fine sandpaper. Check mating surfaces on the cover too. Flat spots seal tight.
Cleanliness cuts wear by 70%. A dirty spot can make your new spring fail in months.
Section 3: Installing the New Bajaj Discover Kick Spring
This part makes or breaks the job. Get the spring right, and kicks feel crisp. Wrong, and it drags.
Understanding New Spring Orientation and Seating
Kick springs wind one way for pull back. On the Discover, it's usually clockwise from the fixed end. The tight coil end hooks the housing pin. The loose end grabs the spindle arm.
Hold the spring up to light. See the coil direction? Match it to the old one. If flipped, tension fights the ratchet—starts won't engage.
Think of it like a clock spring in a toy. Wrong way, it unwinds loose.
The Technique for Winding and Seating the New Spring
Start outside the bike. Hook the spring's inner end to the housing pin. Wind it tight around the spindle path—5-7 turns max for Discover.
Align the outer hook with the spindle stop. Slide the whole setup into the bore. Push firm but even. It should seat with a click feel.
Grease the shaft light with lithium type. Just a thin film—too much slows return. Avoid spring coils; they need dry grip.
Numbered steps for winding:
- Hook inner end to pin.
- Wind coils clockwise.
- Attach outer to spindle tab.
- Test tension by hand—snaps back?
This method works 95% of the time. Practice on a bench first if new to it.
Reinstalling the Kick Spindle and Primary Locking Mechanisms
Slide the spindle home. Turn it to match the internal ratchet dogs. They click when right—feels like gears meshing.
Add the circlip or snap ring to lock it. Squeeze pliers to snap in place. Tug test: it shouldn't wobble.
If your Discover has a washer stack, layer them as before. Wrong order binds the spin.
Section 4: Final Assembly, Tension Check, and Testing
Wrap it up tight. Test before riding off.
Securing the Cover Plate and Gasket Integrity
Use a new gasket if old one's torn. It stops oil leaks. Place it even on the housing lip.
Bolt the cover on loose first. Tighten from center out in a star pattern. Hand tight, then wrench a quarter turn.
Even pressure keeps it flat. Warped covers leak oil fast.
Torque Specifications and Final Fastening
Torque bolts to 8-10 Nm for most Discovers. Check your model's manual—varies by year. Over-tighten strips threads; under lets it vibrate loose.
Use a torque wrench. It saves headaches. If no wrench, snug till firm but not crush.
Standard for 125cc is 9 Nm. Older 100cc might be 7 Nm.
Operational Testing and Kick Lever Reattachment
Bolt the kick lever arm back. Tighten to 15 Nm—snug, not mega tight.
Push the lever down slow. Release—it should snap up quick. No drag? Good. Drag means re-seat the spring.
Kick start the bike. It engages smooth, no grind. Run it a minute; listen for odd noises.
Test rides confirm. If weak, double-check orientation.
Conclusion: Ensuring Long-Term Kickstart Reliability
You now know how to handle Bajaj Discover kick spring installation from start to finish. Key is right orientation, clean seating, and proper torque. These steps fix sluggish starts and boost reliability.2025/11/fixing-hero-glamour-tyfit-sound
A good spring ends those stuck lever woes. Your Discover deserves it—reliable commutes matter. Check the mechanism every 5,000 km. Spot wear early, and it lasts longer.
Grab tools and try it. Your bike thanks you. Ride safe!
📲 Join us on Social Media


Comments
Post a Comment