Kawasaki Bike Repairing and Maintenance Guide: Essential Tips for Longevity and Performance
Picture this: You're cruising down a winding coastal road on your Kawasaki Ninja. The sun shines bright, wind rushes past. Then, the engine sputters. You pull over, far from help. That frustration hits hard. It all stems from skipped maintenance. Neglect costs time and money. Regular care keeps your Kawasaki running smooth. It boosts performance and safety. This guide walks you through it all. You'll find tips for beginners and experts. We cover basics to advanced fixes. Let's keep your ride reliable.
Understanding Kawasaki Bike Basics
Kawasaki bikes stand out for power and style. They range from speedy sport models to tough adventure ones. Knowing your bike's setup helps with repairs. It builds your confidence in the garage. Always check the official Kawasaki manual for your model. It offers exact details.
Overview of Popular Kawasaki Models
The Ninja series leads in sport bikes. Models like the ZX-10R hit high speeds. They need frequent valve checks due to rev-happy engines. Vulcan cruisers offer comfort for long hauls. Their low seats and V-twin motors demand steady oil changes. KLR bikes suit off-road fun. They handle dirt well but require suspension tweaks for rough paths. Each type has unique needs. Pick parts that match your ride.
Key Components and Their Functions
The engine powers everything. It burns fuel to push you forward. Check for leaks during inspections. Suspension absorbs bumps for a smooth trip. Worn shocks lead to poor handling. Brakes stop you quick. Pads and rotors wear out over miles. Electrical systems light your way and start the motor. Faulty wires cause starting woes. Inspect these parts often. It spots issues early.
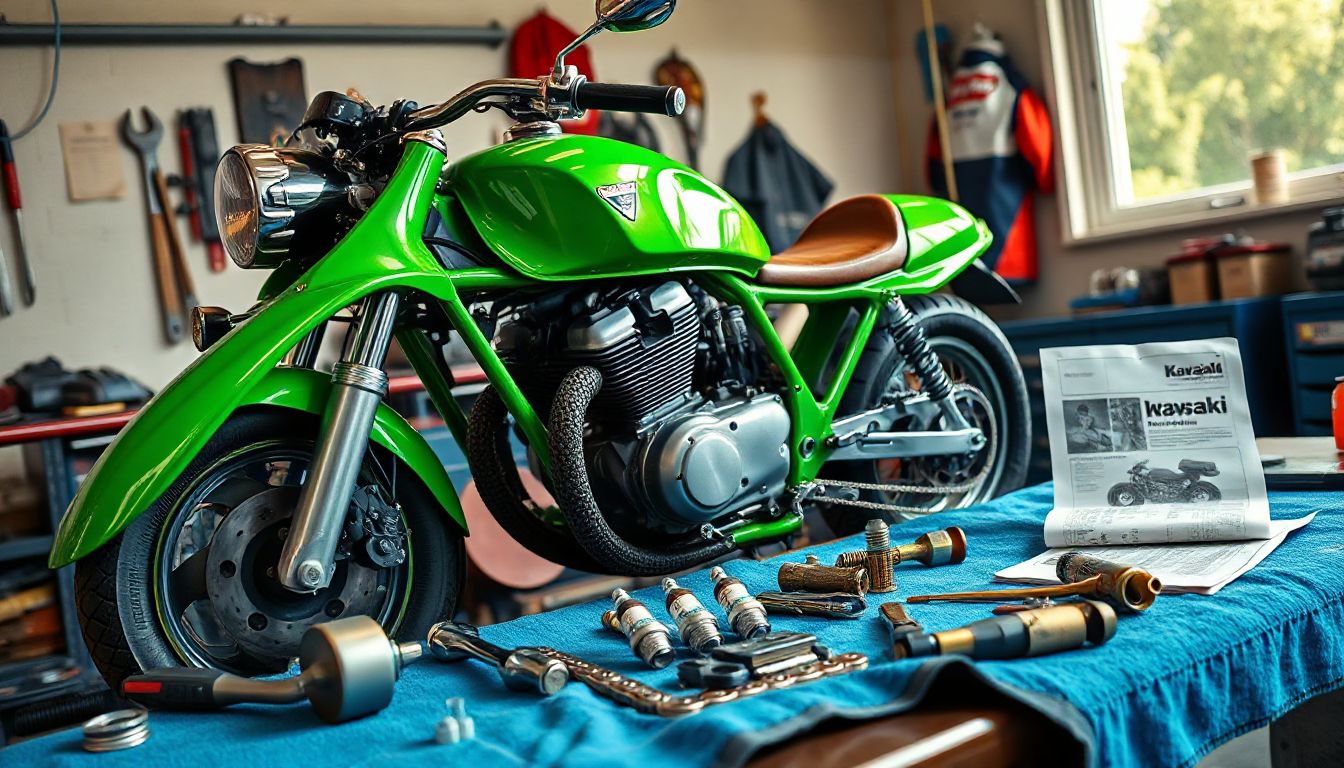
Tools and Supplies Every Kawasaki Owner Needs
Start with a torque wrench. It tightens bolts to spec. A multimeter tests electrical flow. Get Kawasaki service kits for filters and oils. These fit perfect. Shop at RevZilla for deals. Or visit dealers for genuine parts. Basic sockets and screwdrivers round out the kit. Add a jack stand for safe lifts. Quality tools last. They make jobs easier.
Routine Maintenance Schedule for Kawasaki Bikes
Stick to a plan. It prevents big breakdowns. Kawasaki suggests oil swaps every 6,000 miles. Follow this to save cash. Tasks split by time or distance. Adjust for seasons too. Winter means extra prep.
Daily and Pre-Ride Checks
Tire pressure tops the list. Low air risks flats. Use a gauge each ride. Check fluid levels next. Oil and brake fluid keep things running. Lights must work for night trips. Test the horn too. Chain tension matters. Too loose? It slips. Use a checklist app. It tracks your habits.
Monthly and Quarterly Maintenance Tasks
Clean the bike first. Dirt hides problems. Wipe down frame and chain. Battery checks come next. Look for corrosion. Clean terminals with baking soda mix. Air filters need a rinse. Clogged ones cut power. Lube the chain with synthetic oil. Kawasaki recommends it for less wear. Do this every month. It extends chain life.
Annual or Mileage-Based Services
Oil changes lead here. Drain old stuff, swap filter. Refill with the right grade. Spark plugs get replaced around 12,000 miles. Bad ones cause misfires. Coolant flush yearly keeps the engine cool. Follow your manual's chart. Here's a simple table:
| Mileage Interval |
Task |
| Every 6,000 |
Oil and filter change |
| Every 12,000 |
Spark plugs, valves |
| Every 24,000 |
Coolant and brakes |
Log your services. It helps track patterns.
Common Kawasaki Bike Issues and How to Diagnose Them
Problems pop up on any bike. Spot them fast. Forums like Kawasaki Riders share real stories. Service bulletins guide fixes. Early action saves rides.
Engine and Performance Problems
Rough idling signals trouble. It might mean clogged fuel lines. Power loss? Check the injectors. Use an OBD scanner for codes. Clean with approved cleaners. Kawasaki fuel systems clog from bad gas. Rev the engine steady. Does it hesitate? Inspect the throttle body. Fix small issues quick.
Brake and Suspension Troubleshooting
Spongy brakes point to worn pads. Or fluid leaks. Visual checks show pad thickness. Less than 1mm? Replace them. Suspension sags under weight. Bounce the bike. It should settle fast. Adjust preload if needed. For leaks, seek a pro. Hydraulic work gets tricky.
Electrical and Lighting Faults
Battery drain happens from loose wires. Lights flicker? Test voltage with a meter. Aim for 12.6 volts off. Kawasaki uses sealed batteries. They last but need tenders. Blown fuses kill systems. Pull and inspect. Replace with same amps. Tighten connections. It stops most glitches.
Step-by-Step Repair Guides for Kawasaki Bikes
Hands-on work builds skills. Safety first. Disconnect the battery always. Wear gloves and glasses. Link to Kawasaki videos for visuals. They show exact steps.
Changing Oil and Filters
Warm the engine five minutes. It flows better. Place a pan under the drain plug. Unscrew it slow. Let oil drip full. Remove old filter. Wipe the mount clean. Install new one, hand tight then quarter turn. Refill through the top. Check level after a short run. Dispose oil at a center. It protects the earth.
Tire Replacement and Wheel Alignment
Loosen axle nuts first. Jack up the bike steady. Slide off the wheel. Break tire beads with levers. Fit new tire on rim. Use soapy water for ease. Reinstall wheel. Torque to manual specs. For KLR models, check spoke tightness. Balance tires for smooth spins. Align by measuring gaps.
Chain Adjustment and Replacement
Loosen rear axle nuts. Find slack spots. Measure 20-30mm play. Adjust until even. Tighten nuts firm. Lube after each ride. Stretched chain? It skips gears. Measure pitch. Over limit means replace. Cut old links, thread new. Rivet secure. This guards the drivetrain.
Basic Brake Maintenance
Inspect pads through caliper view. Thin? Pop them out. Swap with new ones. Bleed lines for air bubbles. Use DOT 4 fluid for ABS models. Pump the lever till firm. Clean rotors with brake cleaner. Test on a safe stop. No pull means good alignment.
Advanced Maintenance and Professional Tips
Level up your care. Seasoned riders tweak for more fun. Use Kawasaki tech docs. Or chat with ASE mechanics. They know the ins and outs.
Upgrading Components for Better Performance
Swap air filters for high-flow ones. It boosts intake. Exhaust upgrades add roar and power. Pick Kawasaki-compatible parts. Check warranty rules first. Dyno test after fit. It tunes right. Gains show in speed.
Winter Storage and Seasonal Prep
Add fuel stabilizer. It stops gunk. Cover the bike loose. Use a tender on battery. It keeps charge. Spray WD-40 on chrome. Rust fights back in wet spots. Spring check? Inspect belts and hoses. Start slow.
When to Seek Professional Help
Odd noises scream for a shop. Error lights blink codes only pros read. Dealer tools diagnose deep. Independent spots fix Japanese bikes cheap. Ask for quotes first. Save by doing basics yourself.
Conclusion
Regular Kawasaki bike maintenance keeps breakdowns low. Studies show it cuts issues by 80%. Follow the schedule. Use top parts. Log every task. Your ride lasts longer. Performance shines brighter. Grab a maintenance log template online. Start today. Share your tips in comments. Build the rider community. Safe travels.mahindra-service-reset-complete-guide


Comments
Post a Comment